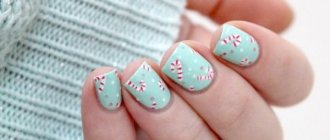
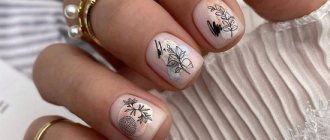
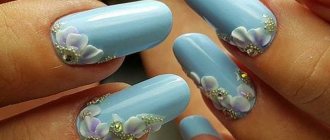
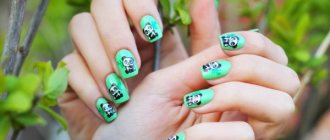
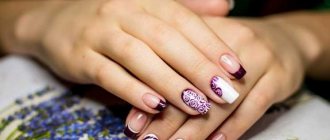
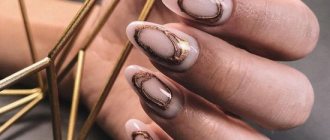
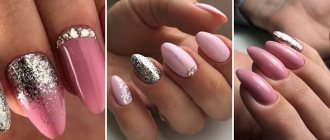
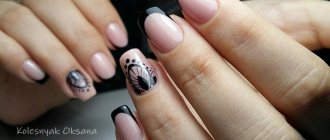
Drawings or stickers on nails always look attractive, bright and unusual. You can apply almost any sticker to your nails, but not every design. This refers to the fact that a manicure with stickers in its technique is much simpler than with a pattern. That is why it is so popular. The main rule of its execution is to properly cover the nail plate itself. Let's look at interesting manicure options with stickers together.
/p>
ns>block; } } /p> 100vw, 150px" />Nail decor is not only stickers - manicure with rhinestones.
And also manicure with foil. /p>
There is a section on the website dedicated to nail decor.
A large selection of photos of discreet nail designs in the article manicure with tape.
A selection of manicure photos with stickers
A manicure with stickers is quite simple to perform and thanks to the abundance of stickers, it can be done for any occasion. Here you will find a large number of photos of nail designs in the style of the topic of the article. Choose the best options on our website.
Choose from us a beautiful pedicure for the New Year 2022. What manicure should you get for the New Year 2019? You will find the answer here.
On New Year's Eve, every girl wants to look perfect. New Year's manicure ideas 2022 -
How to do it correctly
As with any other manicure, when using the sticker design technique, try not to neglect the general rules that even experienced beauty salon employees rely on today. This way you can achieve the desired effect, minimizing the risks of incorrect placement of pictures and other elements. Next, we will consider the procedure for applying the most popular types of stickers. Based on this information, you will be able to use any options for adhesive images in the future.
Transferable
This application option will require high-quality consumables and branded stickers, which can be “removed” by adding a special liquid. The application procedure is as follows:
- Perform a classic manicure, choosing the appropriate length of the plate and removing excess skin growths.
- Degrease the surface of the prepared nail.
- Apply base coat.
- Apply colored varnish. It is advisable to choose a color that matches the shade of the edges of the selected picture. This must be done so that the visual transition is smooth.
- While the coating is drying, prepare the image by placing it in water.
- After removing the layer of paper, place the image on the nail.
- While the picture is still wet, adjust its direction.
- Dry the resulting result and then cover the nails with the finishing coat. Remove excess varnish and films sticking out from the edges of the image.
Adhesive options
A practical and very fast way to personalize your nail plates. It is performed according to the following steps:
- Remove the cuticle and select the shape of the nails using classic mechanical processing.
- Degrease the surfaces to be treated.
- Apply base coat and let it dry.
- Next, apply 2 layers of base. You can choose the color schemes yourself.
- Before the varnish has completely dried, place the stickers on your nails, cutting off the parts that extend beyond the plate.
- Apply top coat, let it dry and enjoy the result.
Iron-on adhesives
Assuming the use of different temperatures, these images imply their own principle of application to the nails. It is slightly different from the classic version and is carried out in accordance with the following steps:
- Perform a classic manicure by removing excess skin and reshaping your nails.
- Apply degreaser to the surface of the nail and send the pictures under an ultraviolet lamp.
- Apply base and base color.
- Place the heated image on the nail plate.
- Remove the parts that extend beyond the nail.
- Treat your nails with a top coat and set them to dry under a lamp.
Note! When using the adhesive technique, try to use additional micronutrients sparingly. A large number of rhinestones, stripes and other decorative decorations will only spoil the original style of your manicure.
Photo design
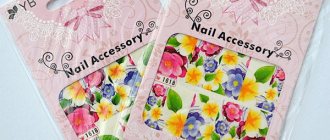
An interesting option for manicure is photo design. The material is art stickers in the form of a thin film with a rough texture. The adhesive on the back of the sticker helps you apply stickers to your nails.
Photo printing allows you to create a unique design with a volume effect
The difference from the slider design is clearer and higher quality images on film. Art stickers are used for a complete manicure, as they provide complete coverage of the nail plates. How to glue stickers:
- Cut out pieces of stickers according to the shape of your nails.
- Apply a base layer - simple varnish, gel, acrylic.
- Release the sticker from the paper backing with tweezers.
- Carefully transfer the photo fragment to the entire nail.
To ensure that the coating adheres well and tightly, you can make small cuts along the edges of the sticker.
The manicure is smoothed with a wooden stick and fixed by applying top coat, gel or varnish. The part of the sticker that protrudes beyond the nail is folded over the edge of the plate and filed off - the file should not be held at an angle, but perpendicular to the edge. Photo design has impeccable image quality, but lasts on average three days.
How to glue stickers on nails at home: step-by-step instructions
When the nails are ready for the process, and all the tools are nearby, you can proceed to gluing the accessories. To do this, follow the following step-by-step recommendations:
- Using an orange stick, carefully remove any remaining skin and work around the sides. Polish the surface with a special buff, removing roughness.
- Degrease the plates with cotton wool and alcohol. To do this, moisten a cotton pad with alcohol and treat the surface. You can also apply a protective agent that will protect against the influence of glue.
- If your manicure requires it, paint your nails evenly with a base polish of the desired color.
- Adjust the size of each slide by placing it on your nail. This is done before the backing is removed. Use scissors to trim off excess material. Note for yourself which side you will need to glue the product.
- If you are going to use water stickers, dip them in water for a few seconds. For stickers, you will need tweezers to evenly pick up the sticker and apply the sticky layer.
- Apply the nail stickers to the nail plate on your hands or feet and carefully smooth them out with a cotton swab. Cover with protective varnish.
Try to carry out all application steps as carefully and thoroughly as possible in order to get an excellent result and enjoy the beauty of your manicure for a long time.
Pink spring manicure with a pattern
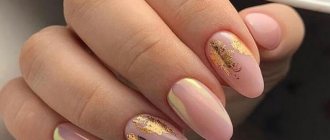
A fashionable spring manicure in pink tones is the ultimate dream of all romantic, dreamy and flirtatious people. However, such a definition does not mean at all that pink polish cannot decorate the nails of young ladies with an established worldview and a strong character. Pink manicure for the spring season 2022 can be playful and strict, laconic and catchy. Therefore, this design can rightfully be called universal, especially if in addition to it there are various types of drawings. Pink manicure with flowers, nails with geometric images, cute animal faces on delicate pink nails, marble stains, abstract drops, strokes and polka dots, combined design options using other shades - this can go on endlessly. It looks incredibly beautiful and stylish.
Spring is the best time for small experiments in appearance and the opportunity to try something new. Do not deny yourself the pleasure of doing what you have long dreamed of.
